こんにちは。平田です。
前回のエントリではOpenShiftをインストールするための環境、ホストを作成しました。このエントリではいよいよOpenShiftをインストールします。
イベントリファイル作成
マニュアルのAdvanced Installation > Configuring Ansible Inventory Filesを参考にインベントリファイルを作成します。
Configuring Ansible Inventory Filesは、インベントリファイルに指定できるパラメータのリファレンスになっており非常に長い文書です。Example Inventory Filesに書かれたシナリオ別のサンプルインベントリファイルを参考にするのがオススメです。
今回の環境では以下のようなインベントリファイルにします。
# Create an OSEv3 group that contains the masters, nodes, and etcd groups
[OSEv3:children]
masters
nodes
etcd
nfs

# Set variables common for all OSEv3 hosts
[OSEv3:vars]
# SSH user, this user should allow ssh based auth without requiring a password
ansible_ssh_user=root

# 以前のバージョンではiptablesによるファイアウォールを前提としていたが、3.9ではfirewalld推奨となった。Configuring the Firewall参照
os_firewall_use_firewalld=true

# ラップトップにインストールするため、システム要件のチェックをスキップする。
openshift_disable_check=memory_availability,disk_availability

# If ansible_ssh_user is not root, ansible_become must be set to true
#ansible_become=true

# Red Hat製品版であるOpenShift Container Platformの場合、openshift-enterpriseを指定する。
openshift_deployment_type=origin

# uncomment the following to enable htpasswd authentication; defaults to DenyAllPasswordIdentityProvider
openshift_master_identity_providers=[{'name': 'htpasswd_auth', 'login': 'true', 'challenge': 'true', 'kind': 'HTPasswdPasswordIdentityProvider', 'filename': '/etc/origin/master/htpasswd'}]

# 内部レジストリのストレージに非推奨のNFSを使うために指定する。
openshift_enable_unsupported_configurations=True

openshift_master_default_subdomain=apps.ocp.local

# 内部レジストリにAnsibleホストのNFSを使う。
openshift_hosted_registry_storage_kind=nfs
openshift_hosted_registry_storage_access_modes=['ReadWriteMany']
openshift_hosted_registry_storage_host=ops.ocp.local
openshift_hosted_registry_storage_nfs_directory=/var/exports
openshift_hosted_registry_storage_volume_name=registryvol
openshift_hosted_registry_storage_volume_size=5Gi

[nfs]
ops.ocp.local ansible_connection=local

# host group for masters
[masters]
master.ocp.local

# host group for etcd
[etcd]
master.ocp.local

# host group for nodes, includes region info
[nodes]
master.ocp.local openshift_node_labels="{'region': 'infra', 'zone': 'default'}"
node1.ocp.local openshift_node_labels="{'region': 'primary', 'zone': 'east'}"
# 次のエントリで追加するノード。インストール時はコメントアウトする。
# node2.example.com openshift_node_labels="{'region': 'primary', 'zone': 'west'}"
infrastructure nodes (インフラノード)
マニュアルのConfiguring Node Host Labelsを読むと “infrastructure nodes” (インフラノード)という記述が出てきます。インフラノードは、アプリケーション用のワークロードと切り離し、内部レジストリやRouterのPodのみを専用に動かすノードのことです(Configuring dedicated infrastructure nodes参照)。今回は端折りました(masterに兼務させています)が本番環境ではアプリのPodを稼働させるノードとは別に、専用のインフラノードを設置することが推奨されています。
プレイブック実行
マニュアルのRunning the Advanced Installation > Running the RPM-based Installerを参考にプレイブックを実行します。3.9から実行するプレイブックが変わったようです。尚、プレイブックを流す前にVirtualBoxのスナップショットを保存しておくと、失敗してもやり直せるのでオススメです。
- 前処理を実行する。
ansible-playbook /path/to/git-repos/openshift-ansible/playbooks/prerequisites.yml
- クラスタ構築処理を実行する。
ansible-playbook /path/to/git-repos/openshift-ansible/playbooks/deploy_cluster.yml
手元のMacBook Pro (Early 2015)で30分程度かかりました。
OpenShiftのアカウント作成
OpenShiftのコンソールなどにログインするためのアカウントを作ります。
OpenShiftでは、IDプロバイダ(認証情報の取得元)を指定することでそのIDプロバイダの情報(ログインIDとパスワードなど)でログインできるようになります(マニュアルの Configuring Authentication and User Agent 参照)。前述のインベントリファイルのパラメータ「openshift_master_identity_providers」ではHTPasswdによる簡易のIDプロバイダ(htpasswdコマンドで生成したID・パスワードファイル)を指定しています。
マニュアルの Configuring Authentication and User Agent > HTPasswd にある手順を実行し、アカウントを追加します。
- master用ホストにて、アカウントを追加する。
htpasswd -b /etc/origin/master/htpasswd ユーザ名 パスワード
確認
プレイブックの実行が完了したら、OpenShiftの動作確認を行います。
- Webコンソールを開く。
- masterで動作しているWebコンソールを開きます。
まずラップトップでmasterを名前解決したいので、/etc/hostsにエントリを追加します。master用ホストに追加したホストオンリーアダプタのNICのIPを記述します。私の環境では以下の行を追加しました。# ocp local env 192.168.56.101 master.ocp.local
- ブラウザで https://master.ocp.local:8443 を開きます。ログイン画面が開きます。

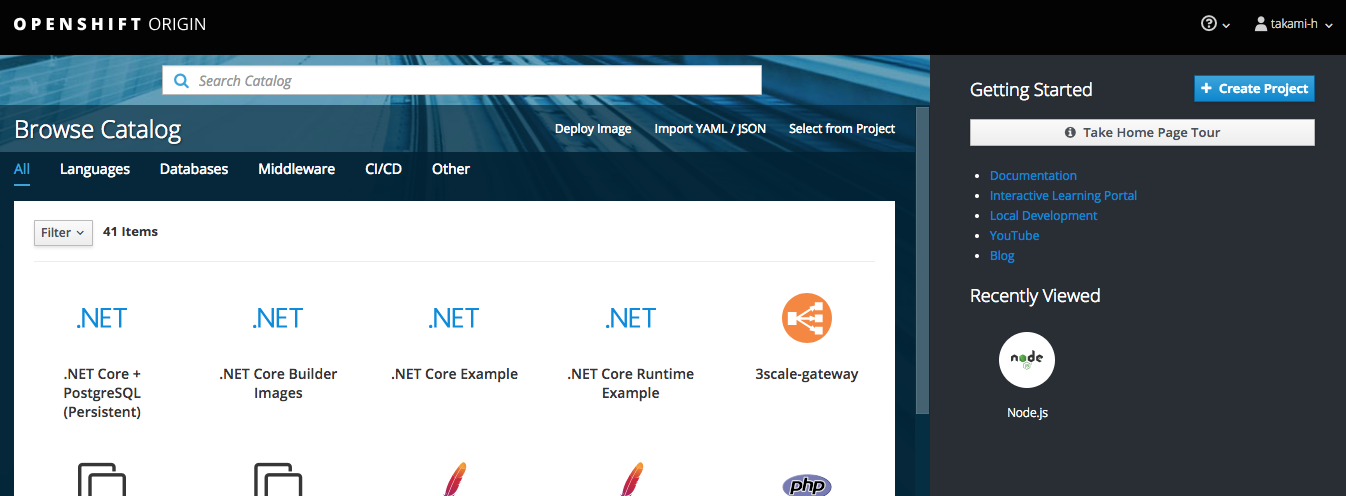
- プレイブック実行後に作成したOpenShiftアカウントでログインします。Getting Startedの画面が表示されます。

- masterで動作しているWebコンソールを開きます。
- ocコマンドを実行してみる。
- コマンドラインクライアントでmasterにアクセスしてみます。master用ホストにて以下のコマンドを実行します。
oc login https://master.ocp.local:8443 --username ユーザ名
- コマンドラインクライアントでmasterにアクセスしてみます。master用ホストにて以下のコマンドを実行します。
- サンプルアプリケーションをデプロイする。
- Hello World的なサンプルをデプロイしてみましょう。まずプロジェクトを作ります。
oc new-project project-hello
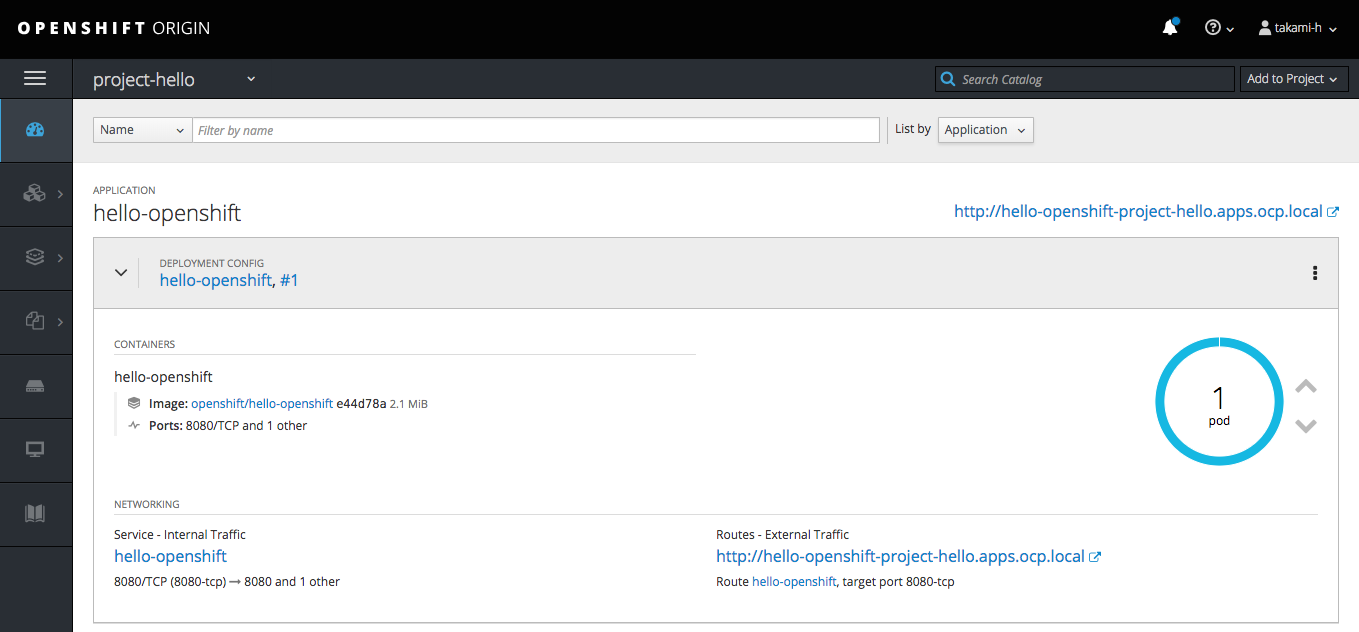
- 既存のコンテナイメージをデプロイします。
oc new-app --docker-image=openshift/hello-openshift:v1.2.1 -l "todelete=yes"
- Routeを作成し、アプリケーションを公開します。
oc expose svc/hello-openshift
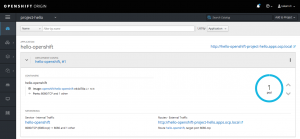
- アプリケーションにアクセスすると応答が返ります。
$ curl -s hello-openshift-project-hello.apps.ocp.local
Hello OpenShift!
- サンプルアプリケーションとプロジェクトを削除します。
oc delete all -l "todelete=yes"
oc delete project/project-hello
- Hello World的なサンプルをデプロイしてみましょう。まずプロジェクトを作ります。

これにてインストールは完了ですが、次のエントリで「既存のクラスタへのnode追加」手順を確認して終わりにしたいと思います。
その3へ続く。
ピンバック: OpenShift Origin 3.9 インストールその4 既存クラスタへのnode追加 – ナッツウェル 技術研究室